8 August, 2019
Renderer Improvements
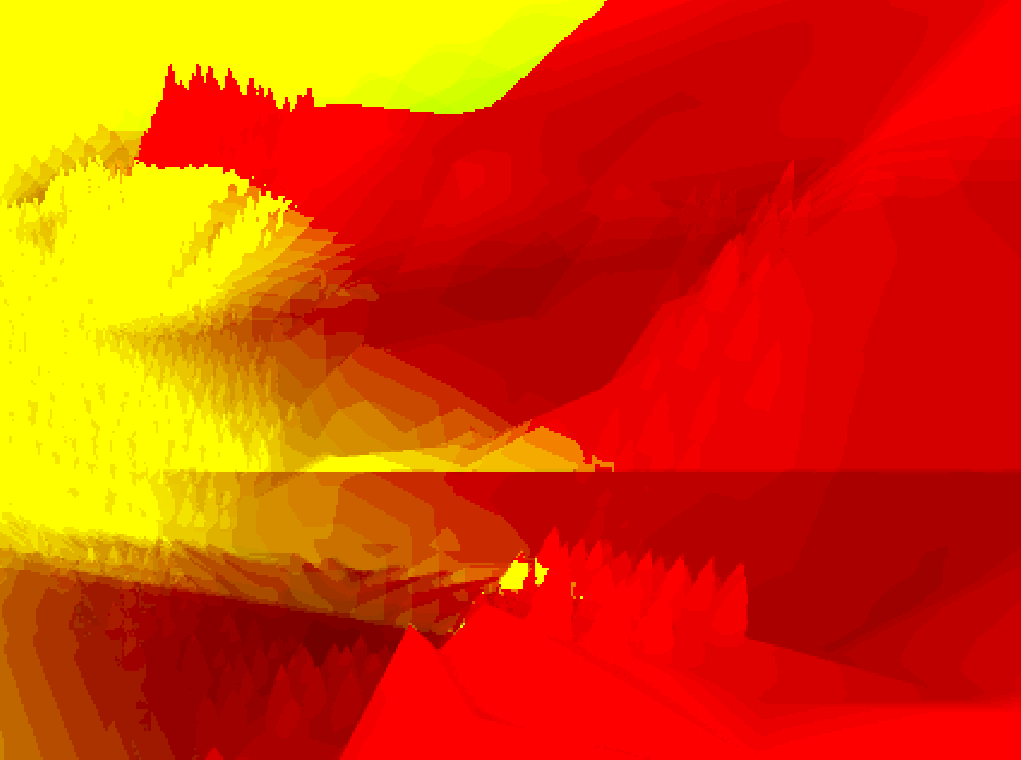
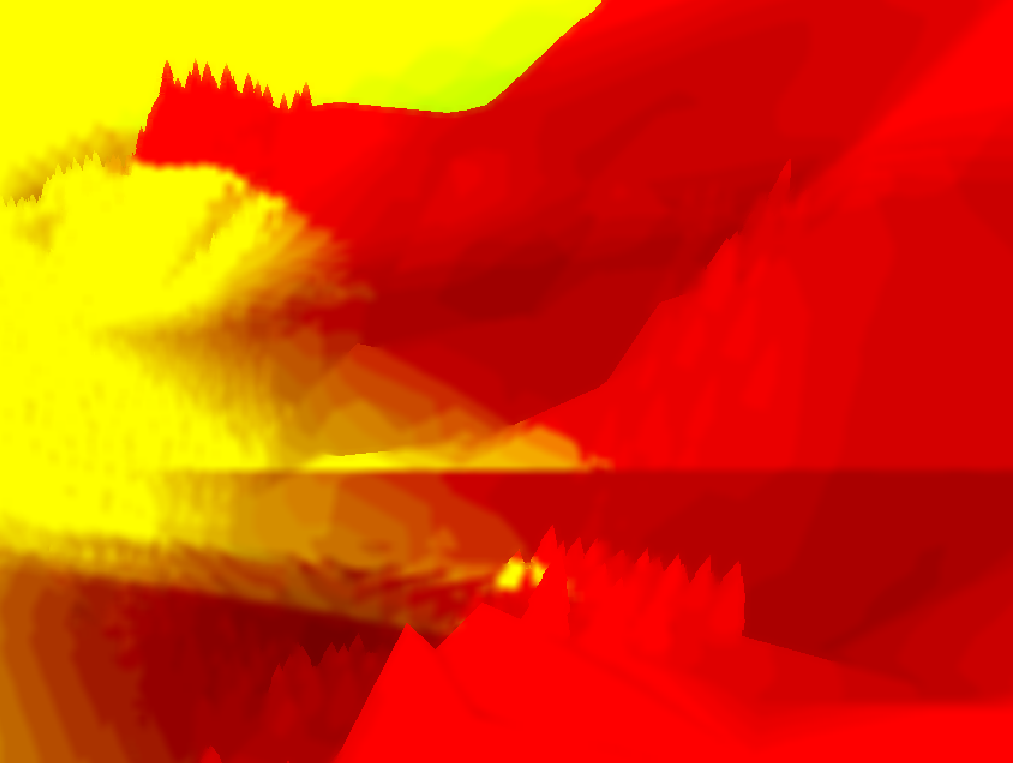
After the initial release of my rendering project, I received feedback mentioning framerate issues and personal choices on certain artistic effects. In the time since that release I have put additional effort into improving these parts of the project. To be frank, I was sick of working on this project at the time of the last release, but some time away from it refreshed my enthusiasm. Additionally, optimizations in the rendering process created opportunities for some new features that I could not help myself but add. Despite the increase in scope, this renderer has improved both in terms of performance and final image quality, and I wanted to describe the work I've done in the past few months here.
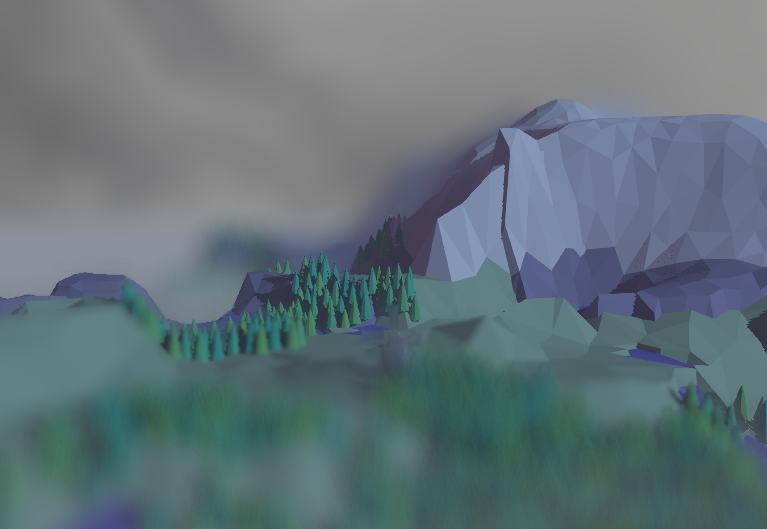
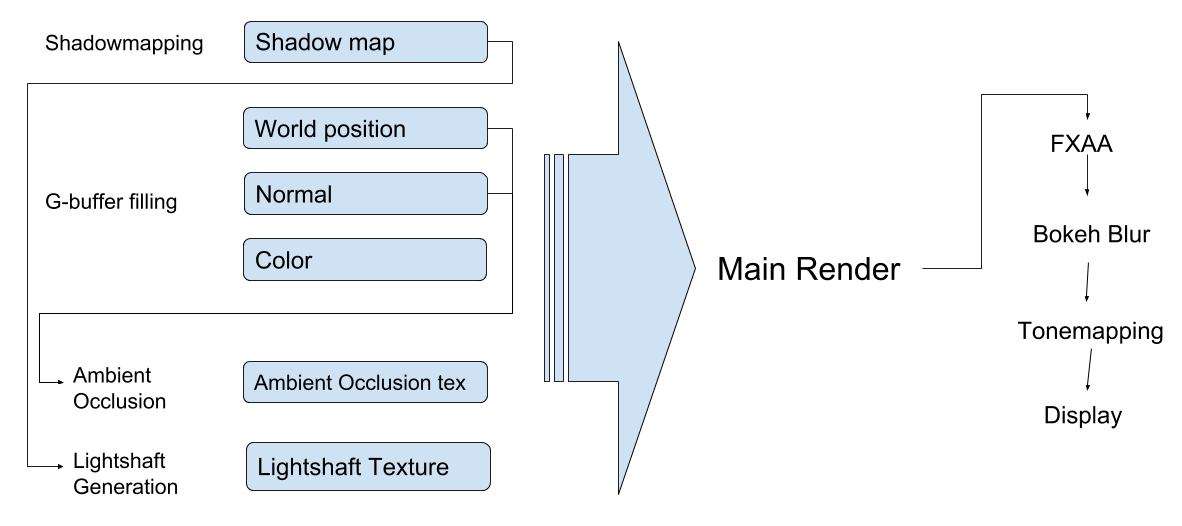
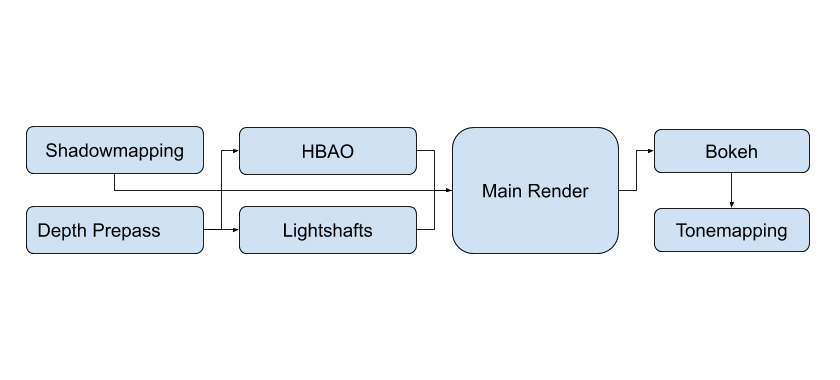
I'll quickly layout the current rendering pipeline before we jump in, it's still similar to the structure described in my previous post so I won't delve into much detail. The main change was moving from a primarily deffered main render to a kind of "forward+" hybrid render, there is only a depth prepass for use in latter stages, but the "normal" and "diffuse color" textures no longer exist. The intent was to remove the need for post-process based anti-aliasing solutions and to use OpenGL's built in multi-sample anti aliasing (MSAA). I believed that solution simpler and the results better than those of the low fidelity post process approaches (e.g. Fast Approximate Anti Aliasing or FXAA), higher fidelity approaches such as Temporal Anti Aliasing have equivalent or better results than MSAA but are orders of magnitude more complex to implement. Ultimately, this change was a mistake for my use case as I found that WebGL cannot use framebuffers that require both a floating point and multisampled render texture, I was forced to choose between High Dynamic Range (floating point textures) or MSAA (multisampled textures), desktop OpenGL does not have this limitation but on the Web I have picked HDR as a higher priority. In summary, render stages now are: shadow map rendering, depth prepass, SSAO, Lightshaft calculation, Main Render, and then Tonemapping.
Easy Wins
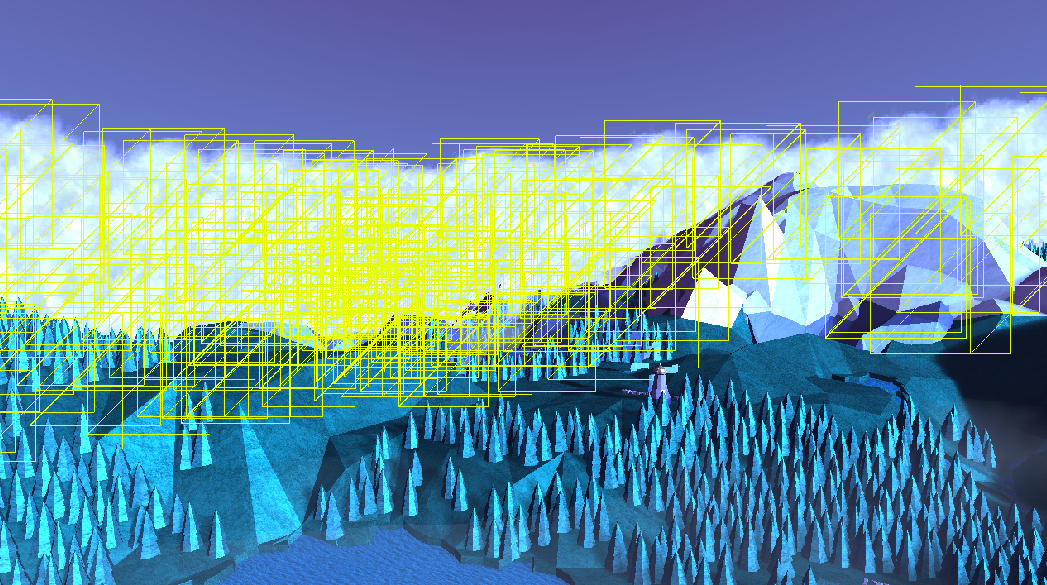
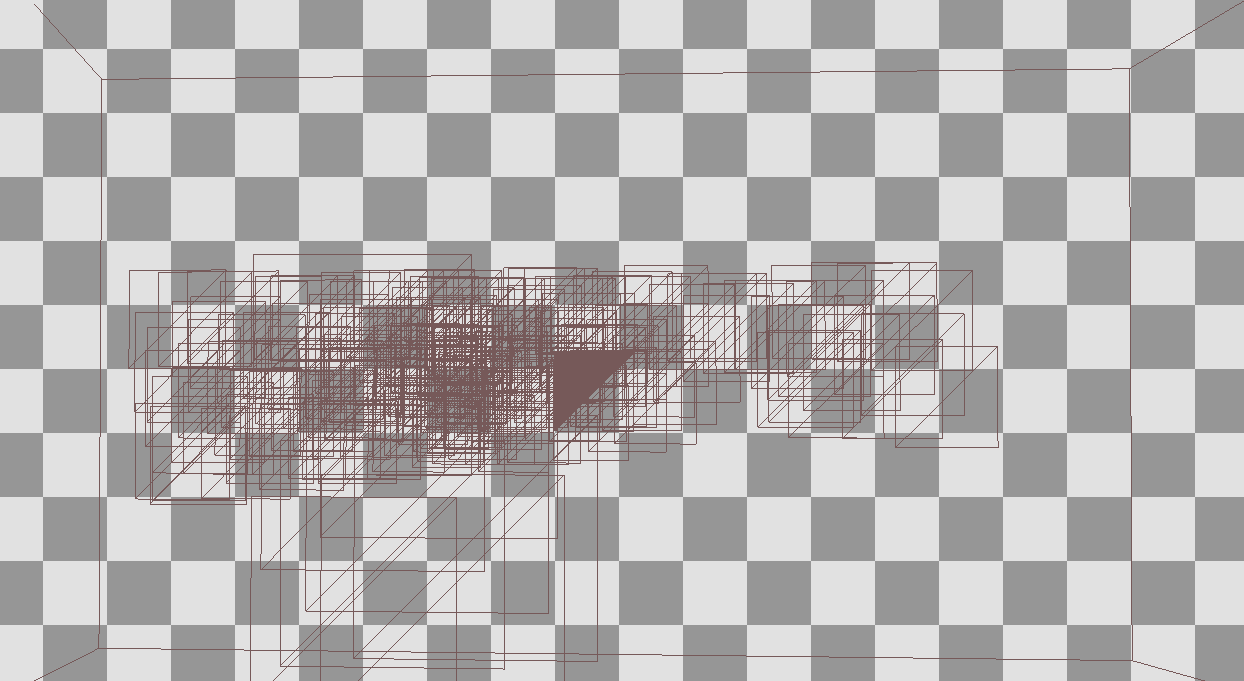
Let's start with embarrassingly easy wins: frustum culling and reduced texture channel count. The implementation of frustum culling has been described in other places so I won’t reiterate that process here and just note what changes I made to better support it.
First, tree instances were grouped together at startup by iteratively bisecting the set of their positions along alternating axes (i.e. Split the group into equal halves along the x axis, then split these groups along the y-axis, and so on) until the counts in each group were within some predetermined bounds. This approach neatly divides the positions such that there is no overlap between group boundaries, (it is also the algorithm for creating a k-d tree, though in my case no hierarchy data is retained). Second, the terrain was divided up into separate meshes. No interesting algorithm was used here, triangles were simple grouped together based on whether their circumcenters fit in cells on a regular grid.
Reducing the number of texture channels was simple (it's passing a few different enums to OpenGL), and that simplicity made me underestimate the improvements it could bring. Previously, render textures were universally RGBA textures, however during the intermediate rendering stages (e.g. shadowmapping, SSAO, Lightshaft Generation) most of the channels in those textures were wasted. It should have been obvious that these textures were 1/2 to ¾ wasted space (each step above only writes to one or two channels). Reducing the texture load by such an amount sped up both writes and reads to these textures. According to Renderdoc, my early 2019 version has a 200MB GPU load, whereas the current version is only 100MB, and I expect this change is the main contributor. If you are ever implementing your own rendering pipeline, don’t make this silly mistake!
SSAO to HBAO
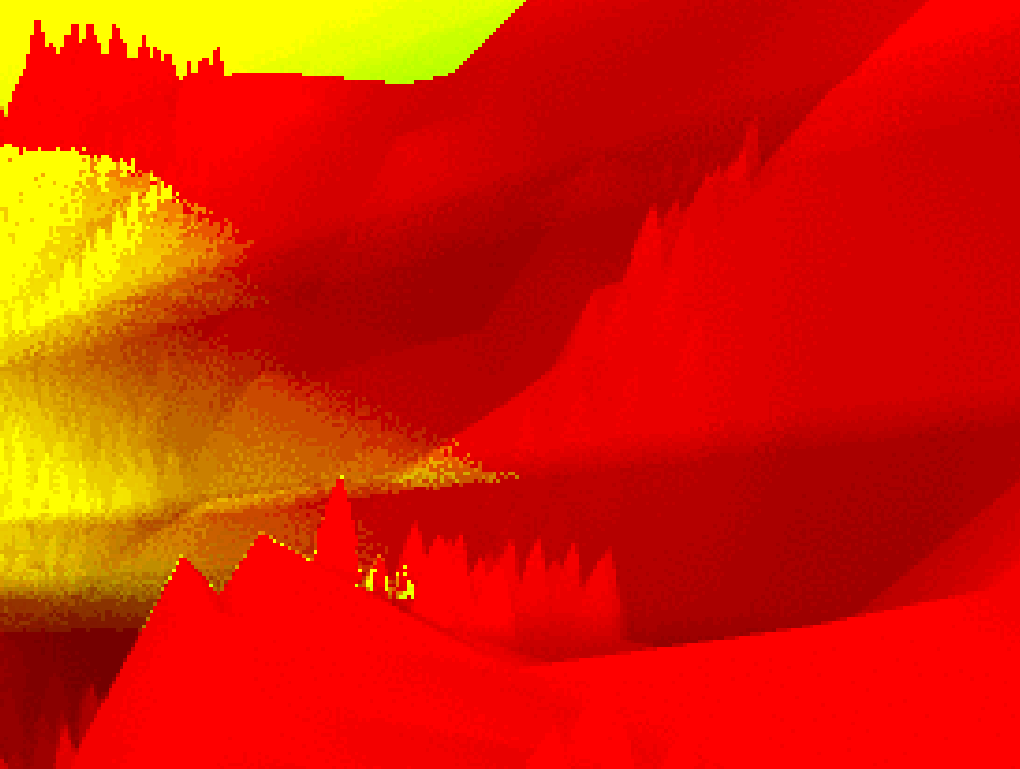
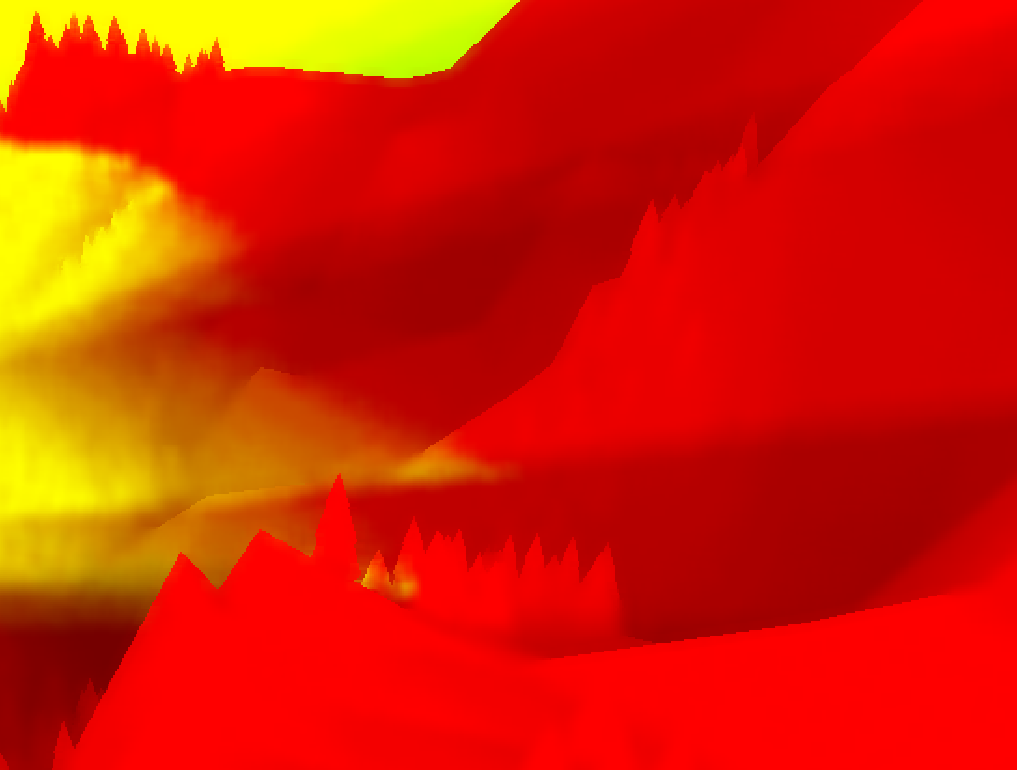
The Ambient Occlusion pass received an upgrade by switching over to Horizon Based Ambient Occlusion or HBAO. The algorithm itself isn’t any more efficient than my previous approach, however it does provide what I felt were higher quality results. In addition, HBAO can “evolve” into the more cache-friendly (read: performant) HBAO+ algorithm fairly easily. At this time though, the ambient occlusion step is far from the critical performance path, the choice to switch to this algorithm was for higher quality results and a chance of future-proofing if the renderer ever does need a more performant SSAO phase.
Exponential Shadowmaps
Exponential shadow maps netted substantial wins by reducing the needed texture size (previously 2048x2048, now 1024x1024) while also softening out any aliasing on the edges of shadows. This approach is not significantly different from classic shadowmaps, the main difference being it blurs the input depth texture and then uses an exponential function to calculate the degree of shadow as such:
				float shadowing = clamp(
					exp( userConstant * ( occluderDepth - receiverDepth ) ),
					0.0, 1.0
				);
The "userConstant" magic number in the above code was determined with some trial and error. Overall, it was a straightforward, drop in solution. I’ll also note that I tried out Variance shadow maps, however the light bleeding artefacts are too hard a downside given my scene and the amount of overlapping shadows/objects.
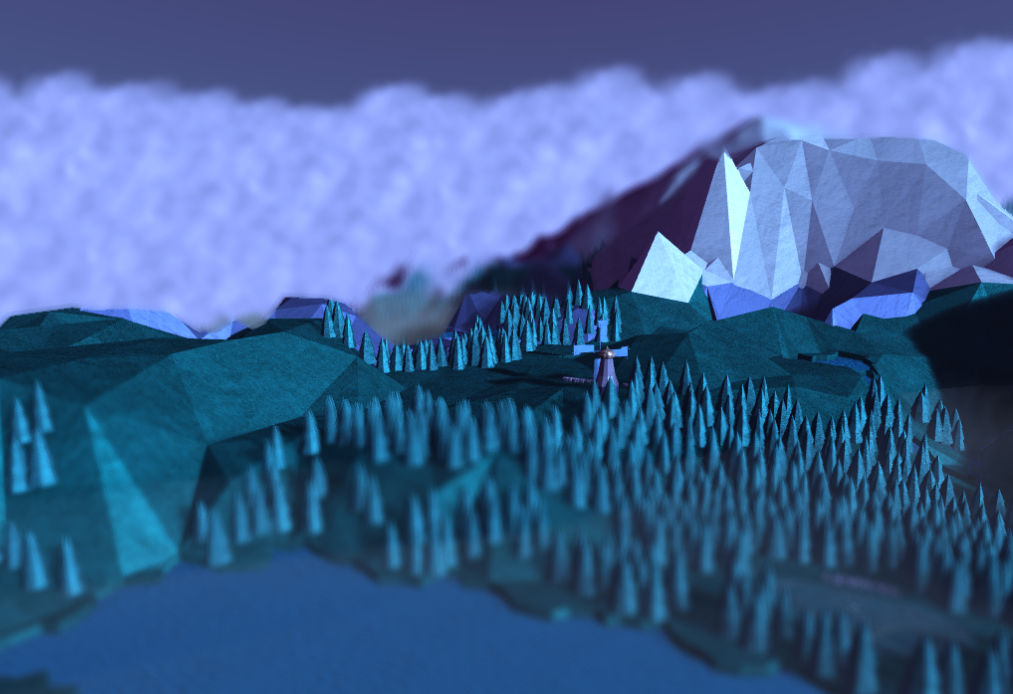
New Particle System
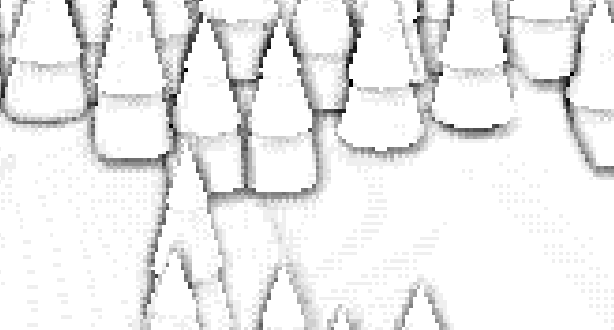
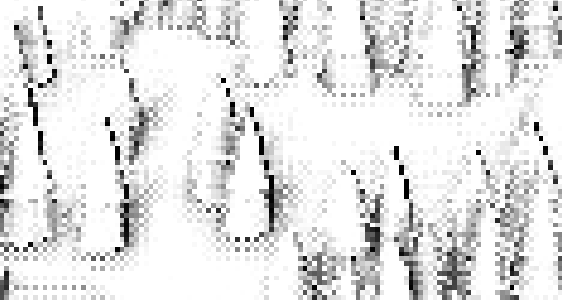
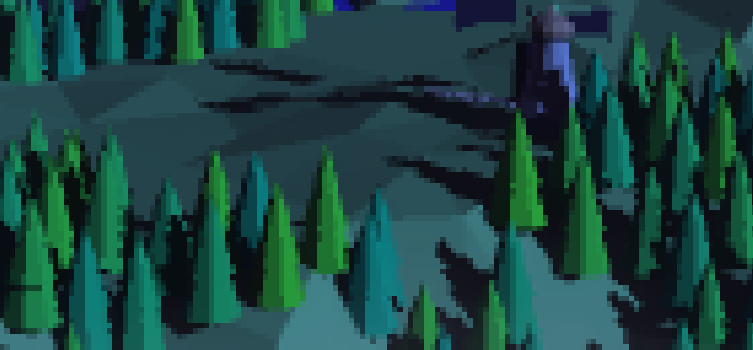
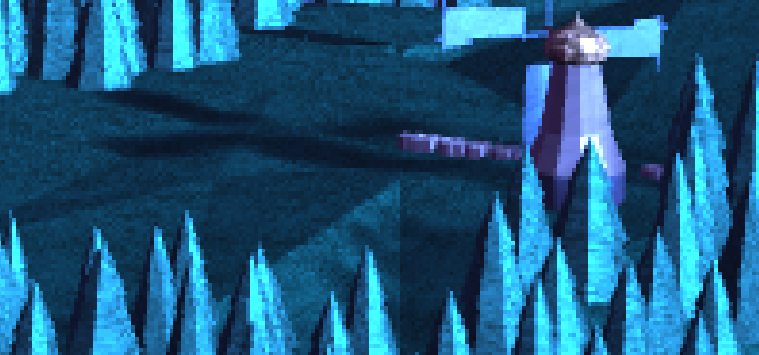
The various improvements described earlier opened enough slack for me to implement a rudimentary particle system, which I used to simulate/render the clouds that now shroud the borders of the map. These clouds are billboarded cards who's positions are simulated on the CPU (as opposed to the GPU like some fancier/better solutions do). The simulation is simple, positions just drift forward until the particle is destroyed, and in a second pass any particles that will not make it into the final image are culled and the remaining set is sorted back-to-front (farthest to closest relative to the camera, so alpha blending works correctly). Caps on the amounts of particles simulated are hardcoded, I tuned them by feel to keep everything within my runtime requirements.
Material Management
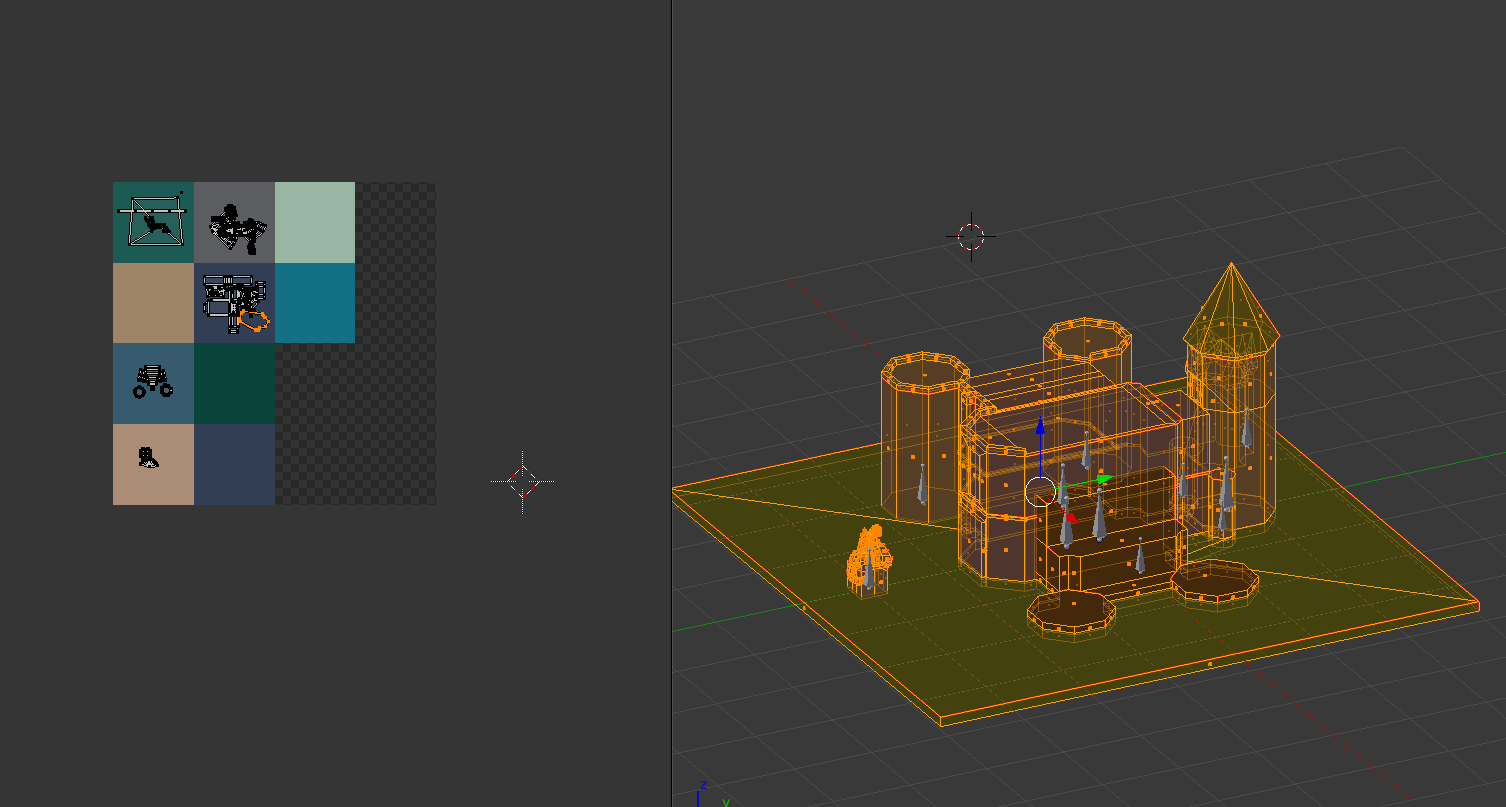
I implemented a system for managing materials inspired by the way i’ve seen other devs/artists handle colors for low-poly models. The basic idea is meshes have their uv’s divided up into islands as usual, but each island is lined up over a uniform square of color in a palette texture (rather than a complex image). This nicely divides mesh editing/sculpting from tuning/tweaking colors and removes the overhead of editting the mesh after uv-mapping has been completed. Theoretically, sharing a single palette texture between all models can also make a coherent image easier to achieve.
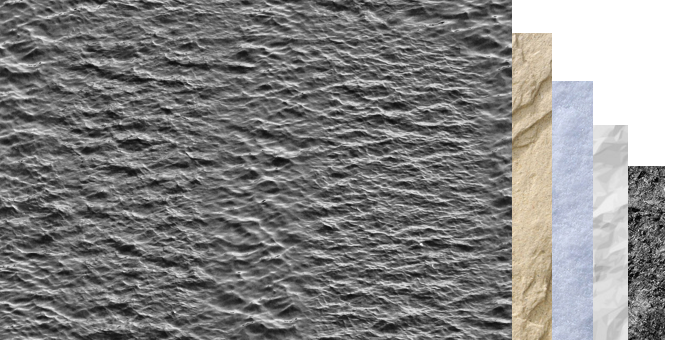
I took this idea a little further. In addition to color, my palette texture stores a “specular reflectiveness” value and an index to an array of bump map textures. In this way it acts more like a palette of materials rather than just plain colors. The bump map textures are applied with triplanar mapping (a method that does not require uv-coordinates, it applies textures evenly around the whole model). A brief caveat: normally a “bump map” implies the use of a three channel normal map, but I just shortcutted and used a single channel texture that is applied as a shadowing value during the lighting calculation step. Since the positions of the lights do not change in my scene, my hope was that this fixed shadowing would not be too obvious.
Small Details
And now the various details that don't warrant whole paragraphs. Bokeh blurring was streamlined as described here to use only a single texture; there is no longer any use of multiple render targets for far-mid-near field placement. The lightshaft generation shader made use of blue noise dithering in order to smooth out the shapes and reduce banding artefacts. SSAO and Lightshafts both benefited from the implementation of depth-aware blurring from the previous flat, depth-ignorant blurring. And finally I re-implemented my tonemapping shader using the process and code described by John Hable here; this time around I understand the math and find the final colors much more pleasing, they are much brighter and more saturated compared to the previous version.